How to make Next.js app a PWA (Progressive Web App)
Build your 1st Progressive Web App 💻


Let's learn how we can make our Next.js app a Progressive Web App🚀
Create Next app
npx create-next-app next-pwa-app
Install required package
npm i next-pwa # npm
or
yarn add next-pwa # yarn
Generate Manifest.json and PWA icon
We need to generate a manifest file which gives information about the website. To generate Icon and Manifest.json go to Generate Manifest.
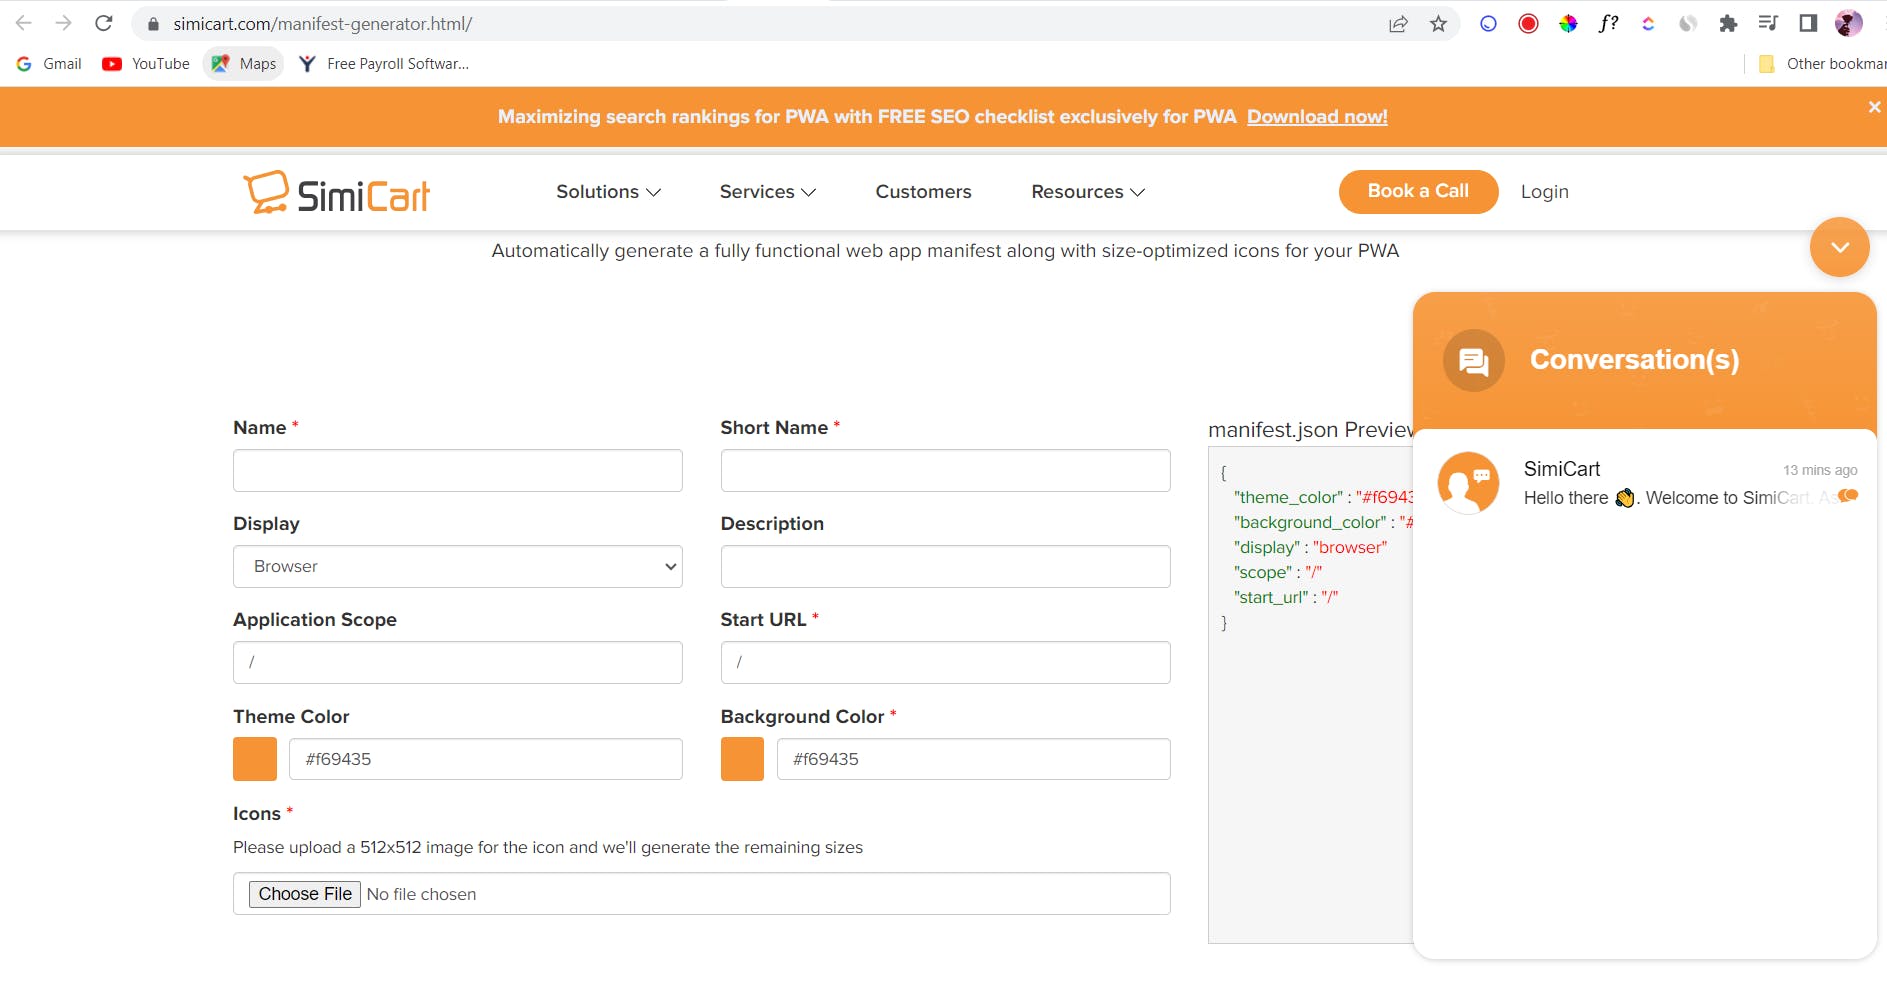
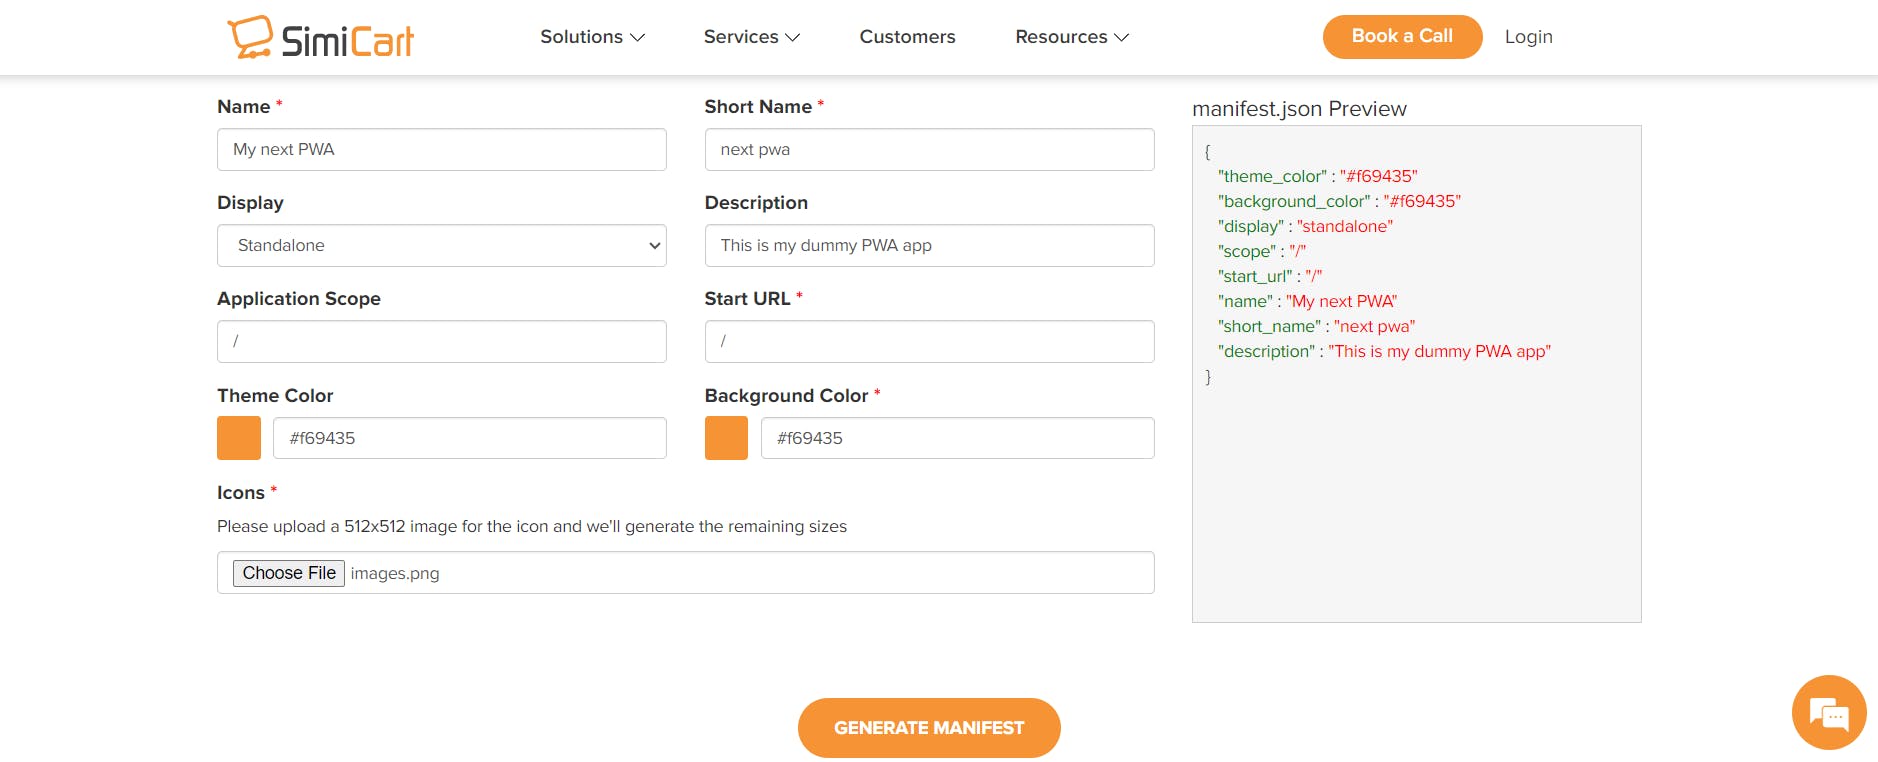
Now, fill in the Name, Short Name, Display, Description, and Theme color, and upload the icon you want for your PWA.
Once you've filled in the details, click on the "Generate Manifest" button. You'll then see the manifest generated for your app, and a zip file will be downloaded containing the icons and manifest file.
Extract Manifest and Icons
Now, unzip the downloaded file and paste all of these files into the "public" folder in your root directory.
After completing this step, your folder structure should look like this:
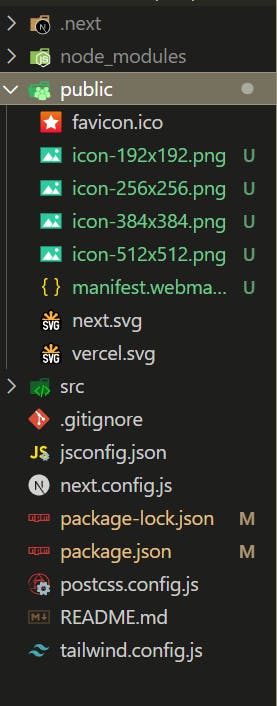
Now, rename your manifest.webmanifest to manifest.json.
Pages directory (skip this step if you're using app directory)
If you're using the pages directory then, create a file named "_document.js" into the pages directory if it does not exist already and then paste my sample code into it.
import { Html, Head, Main, NextScript } from "next/document";

export default function Document() {
  return (
    <Html lang="en">
      <Head>
        <link rel="manifest" href="/manifest.json" />
        <link rel="apple-touch-icon" href="/icon.png" />
        <meta name="theme-color" content="#fff" />
      </Head>
      <body>
        <Main />
        <NextScript />
      </body>
    </Html>
  );
}
App directory (skip this step if you're using the pages directory)
If you're using the app directory then _document.js will not work, you need to import the manifest file directly into the app's root layout.js file. So, update your app/layout.js file like this:
import "./globals.css";
import { Inter } from "next/font/google";

const inter = Inter({ subsets: ["latin"] });

export const metadata = {
  title: "Create Next App",
  description: "Generated by create next app",
};

export default function RootLayout({
  children,
}: {
  children: React.ReactNode;
}) {
  return (
    <html lang="en">
      <head>
        <link rel="manifest" href="/manifest.json" />
      </head>
      <body className={inter.className}>{children}</body>
    </html>
  );
}
Update next config
Once, the manifest is been imported, update your next.config.js file which is located at the root of your project. So your next.config.js should look something like this:
/** @type {import('next').NextConfig} */
const withPWA = require("next-pwa")({
  dest: "public",
});

const nextConfig = {
  reactStrictMode: true,
  pwa: {
    dest: "public",
    register: true,
    skipWaiting: true,
  },
};

module.exports = withPWA(nextConfig);
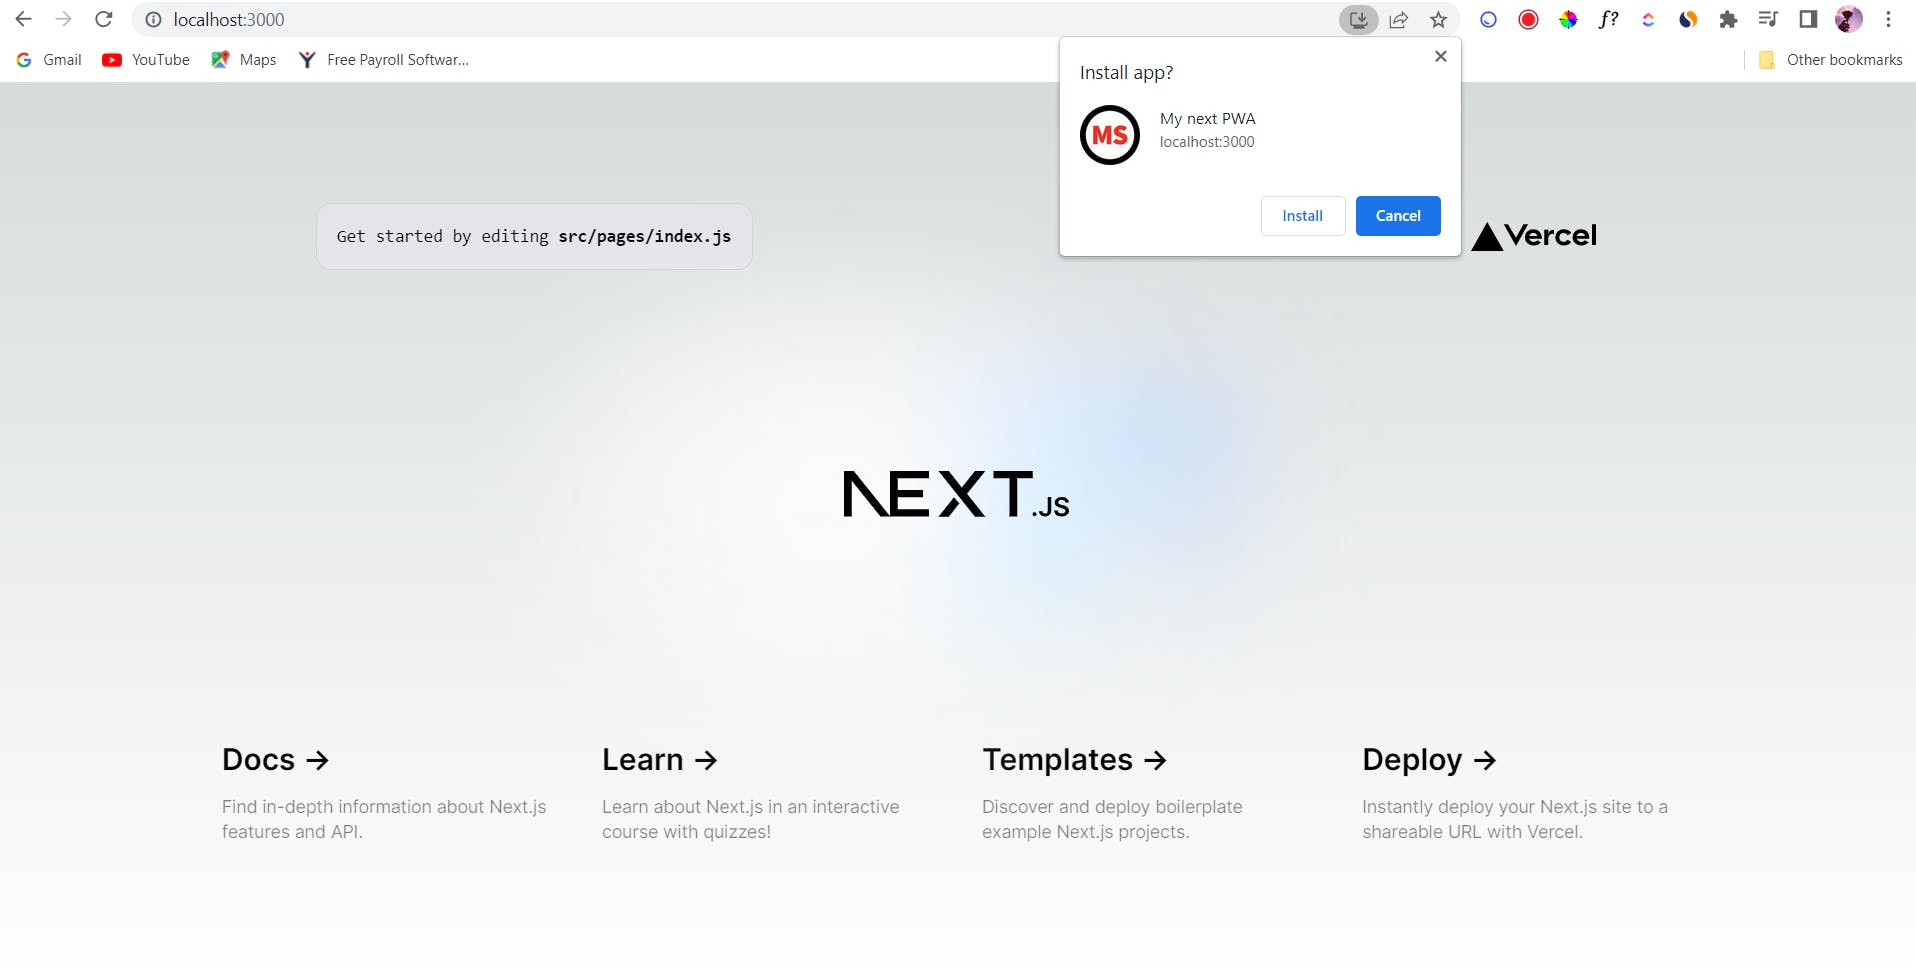
Now, restart the server and click on the app icon at the top.

Yay 🎉 You've successfully created your very first Next.js Progressive Web App! Congratulations 🥳 on this exciting achievement!
Download your Progressive Web App
You can download your app by clicking on the Install button.